Improving the kitchen timer prototype
It’s been well over a year since I last posted about the kitchen timer project, and in that time I’ve made some updates! Through using the timer I found pain points and areas that I could improve. I’ve made some of those improvements in the new prototype described in this post, but there’s more work to do.


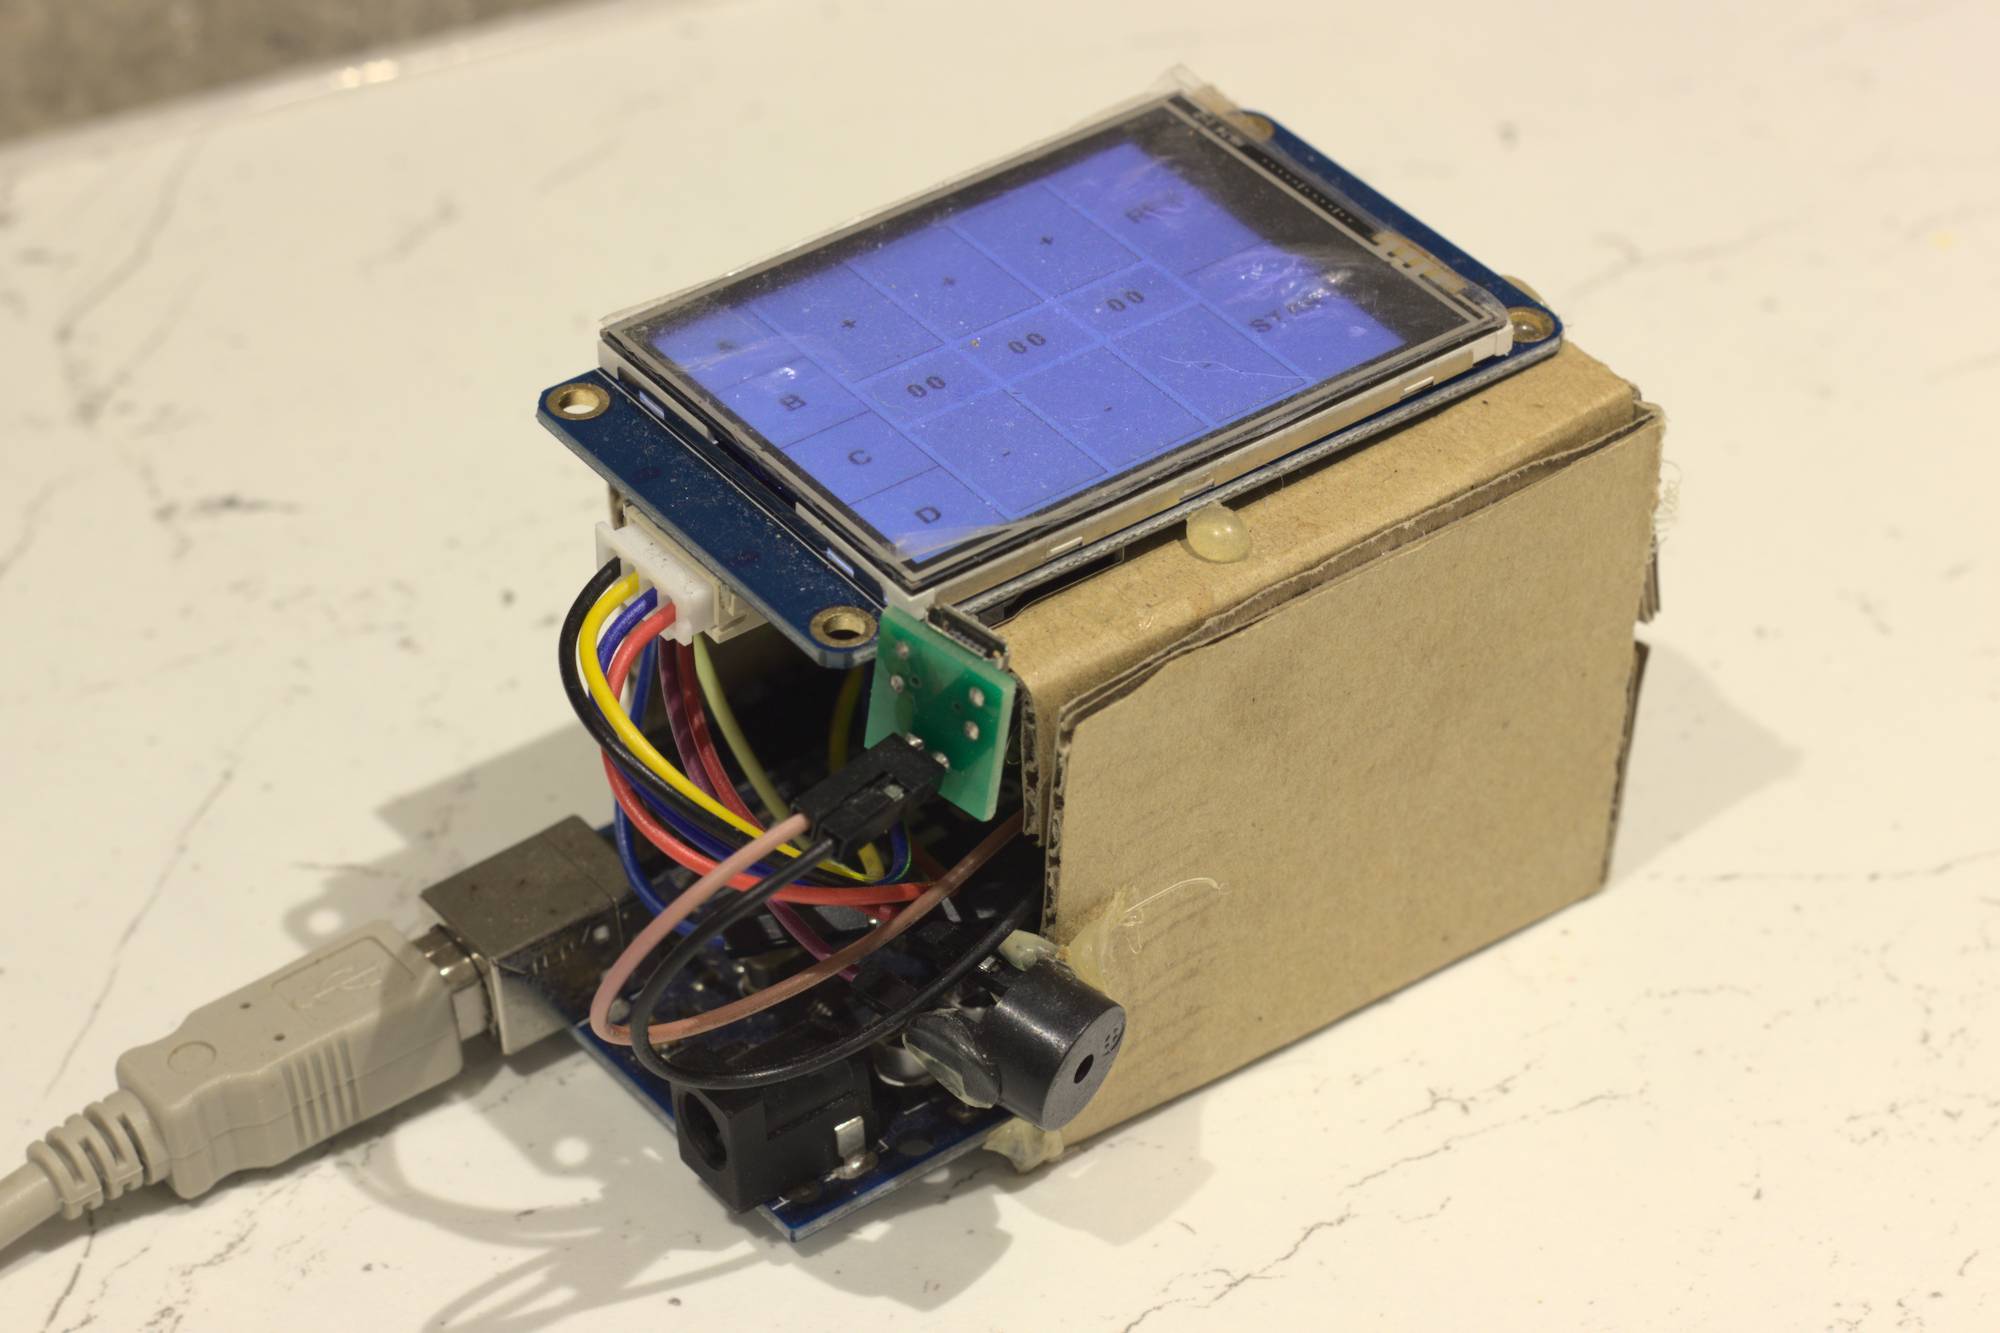
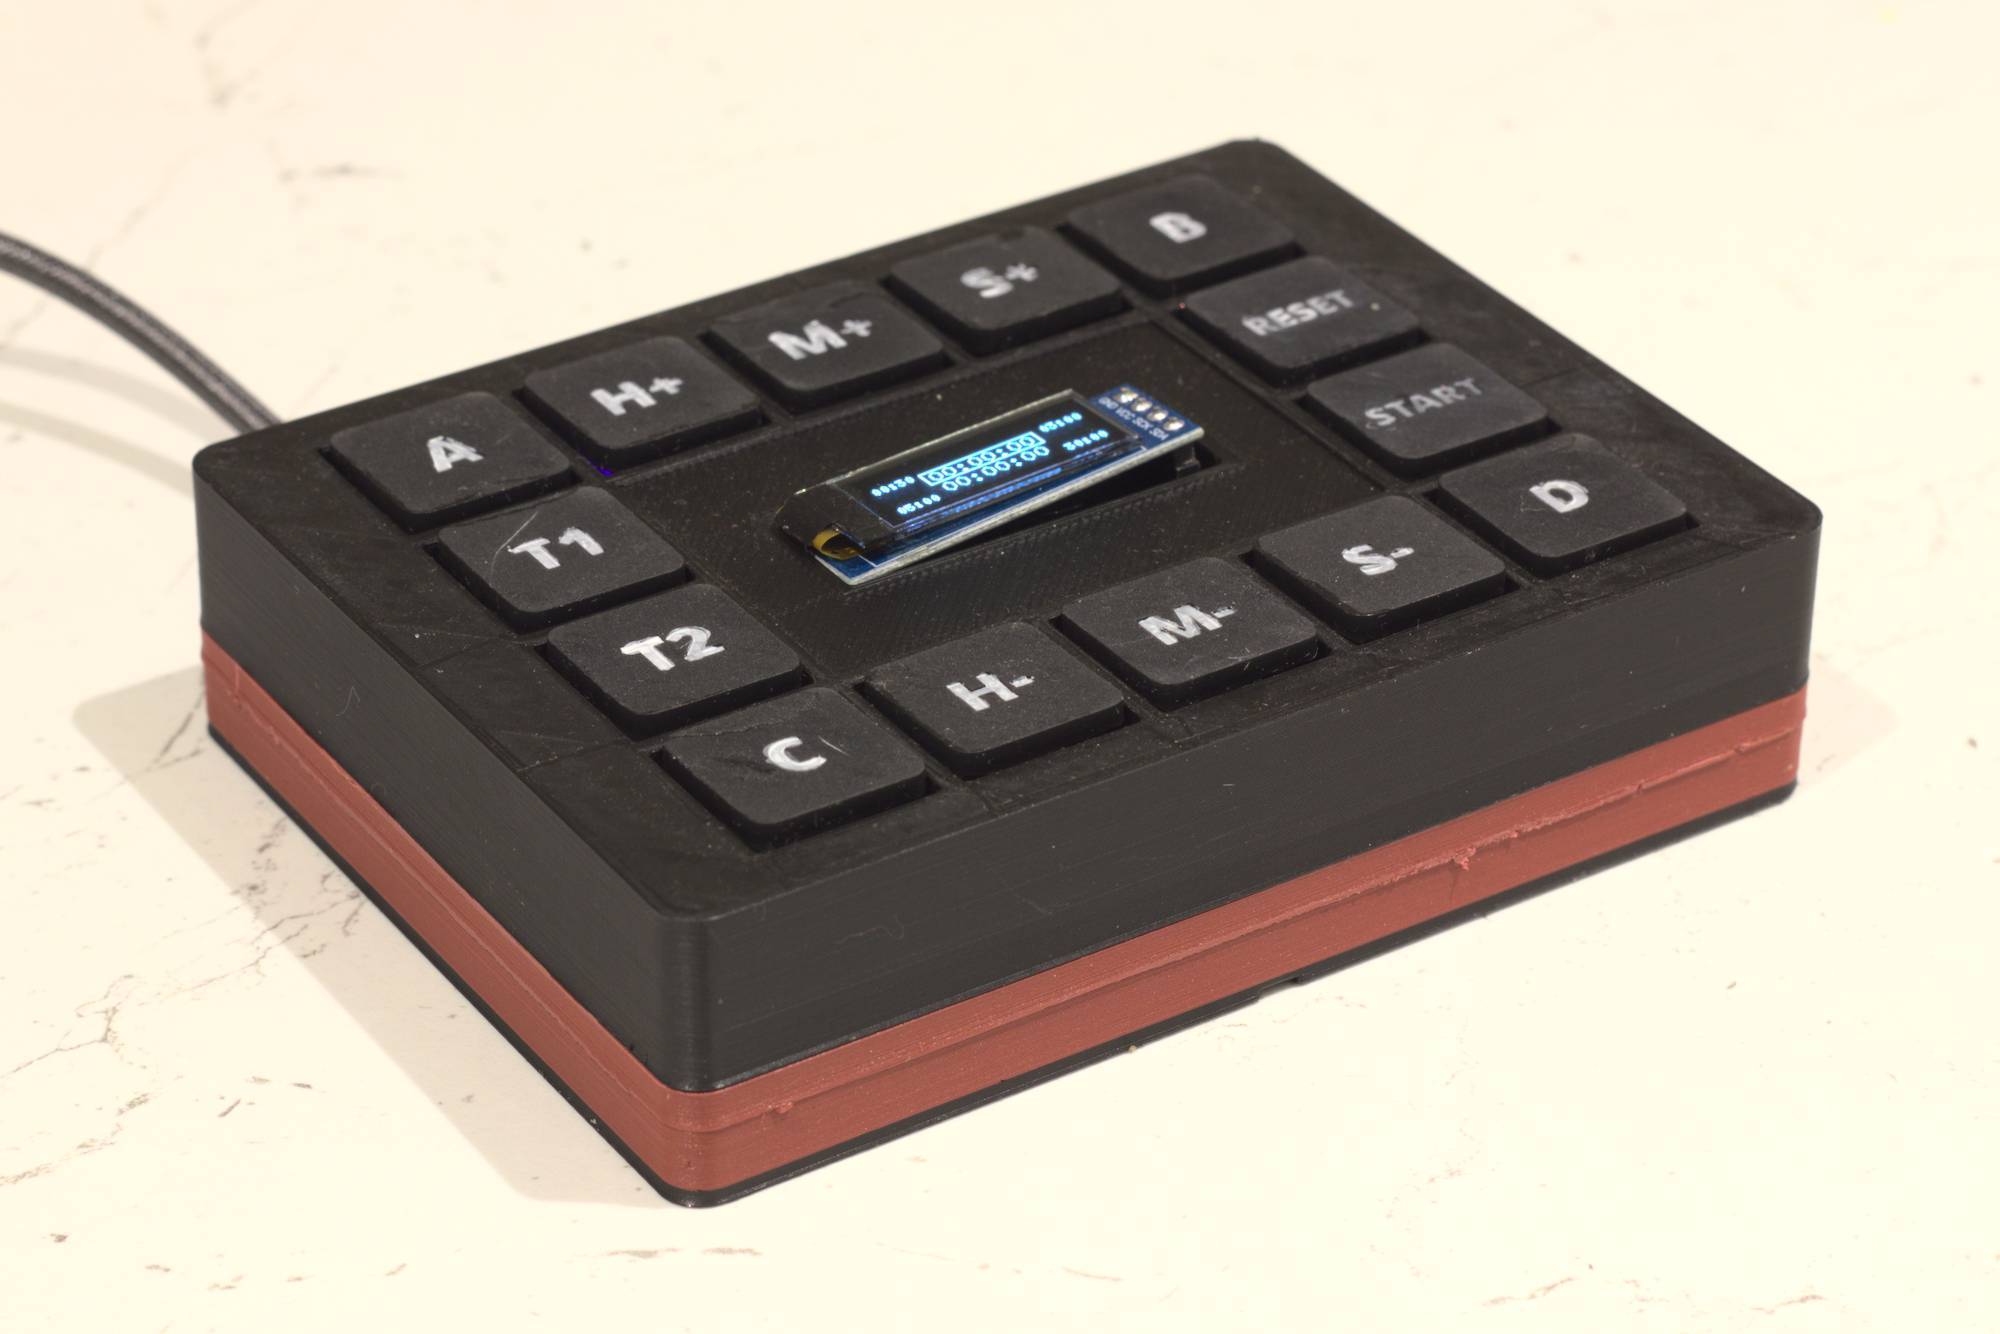
The old vs the new. No longer held together by hot glue and wishful thinking.
Presets
The first problem to tackle was that it’s not obvious what the preset buttons are. What do the letters mean? What will they do? Set to a predefined time, add time or subtract time? How much? At first I only used the “tea” preset, because it was the only one I remembered. After some time the presets felt more natural, but I can improve the experience further.
A tiny time display in each corner of the screen shows you how much time it will add if you press that button. You adjust each preset by setting a time on the display and then pressing and holding the preset you want to set. That’s not very intuitive, but it’s also not an action you take very often once it’s set up. I can live with that.
A future improvement would be to actually label the buttons with “Preset”. I’ll probably do this as text on the case near the buttons rather than on the button cap itself. I’m intending for the buttons to get much smaller, but I’ll get to that in a bit…
Alarm
Prototype 1’s beeper is weak - you often can’t hear it over loud kitchen appliances like mixers. It even has an intermittent issue where it sounds muffled. I suspect that it’s not designed for such short beeps. It’s been replaced with a passive piezo buzzer, which requires a square wave to drive it. The advantage is I can change the frequency of that square wave to change the pitch it plays! It’s a little louder, but probably still not quite loud enough.
Another thing that came up in my early ideation was that it’s common to need more than one alarm. For example you might have one timer for something in the oven, and a second alarm to remind you to put another thing in. It seems like an oversight that most kitchen timers only allow you to set one alarm. But it’s done for the sake of keeping the product simple.
Since my timer is turning into more of a “power user’s kitchen timer”, I added a second alarm in this prototype. The “T1” and “T2” buttons switch between the two timers on the screen. The rest of the buttons will affect whichever timer is currently selected. There’s a catch, though - I haven’t yet implemented the beeping for the second timer! That means it’s not very useful at the moment.
Construction
I am not keen on touch screens on devices where they’re not appropriate. They’re handy for a kitchen timer because the flat screen is easy to clean, but they lack that tactile feedback. The big improvement of this second prototype is that it now has physical buttons! I used keyboard switches because they’re easy to mount in the prototype. For the buttons you’re likely to mash (time adjustment) I used tactile switches. For the ones that you need to be sure you’re pressed (start/stop, reset), I used clicky switches for strong tactile feedback. The downside of these switches is their size - they make the case huge!
Custom keycaps I designed sit on top of the switches. They’re about as low-profile as you can get on MX-style switches, and I printed them on my new resin printer. The caps and case are generated in OpenSCAD using SolidPython, allowing me to parametrically generate the cap legends.
Display
I’m not keen on either of the displays I’ve used so far. The Nextion display of the first prototype was great for a prototype, but it’s overkill for a kitchen timer. The OLED display I’ve used in this second prototype is much more appropriate, but it’s too small, making the presets hard to read. A better style to go for would be a monochrome LCD like the ones you can buy from old Nokias. Maybe in the next version.
Power
Being tied to a USB port for power is pretty inconvenient. I left room inside the new case for a small battery and charge control circuit. For now I haven’t included it, because I’d need to do a lot of work to reduce the power usage of the Arduino inside. Until then, it’d need a switch to cut the battery power, which means I’ll inevitably forget to turn it off and drain the battery.
Verdict
Despite its flaws, this prototype is still a big improvement over the previous one, particularly in build quality. I’m no longer worried about handing it to someone else to try out. There’s still a lot of UX work to do on it, particularly in terms of signifiers for the functions and improving the form factor. The presets, for example, are not very discoverable, and it needs to be a lot smaller.

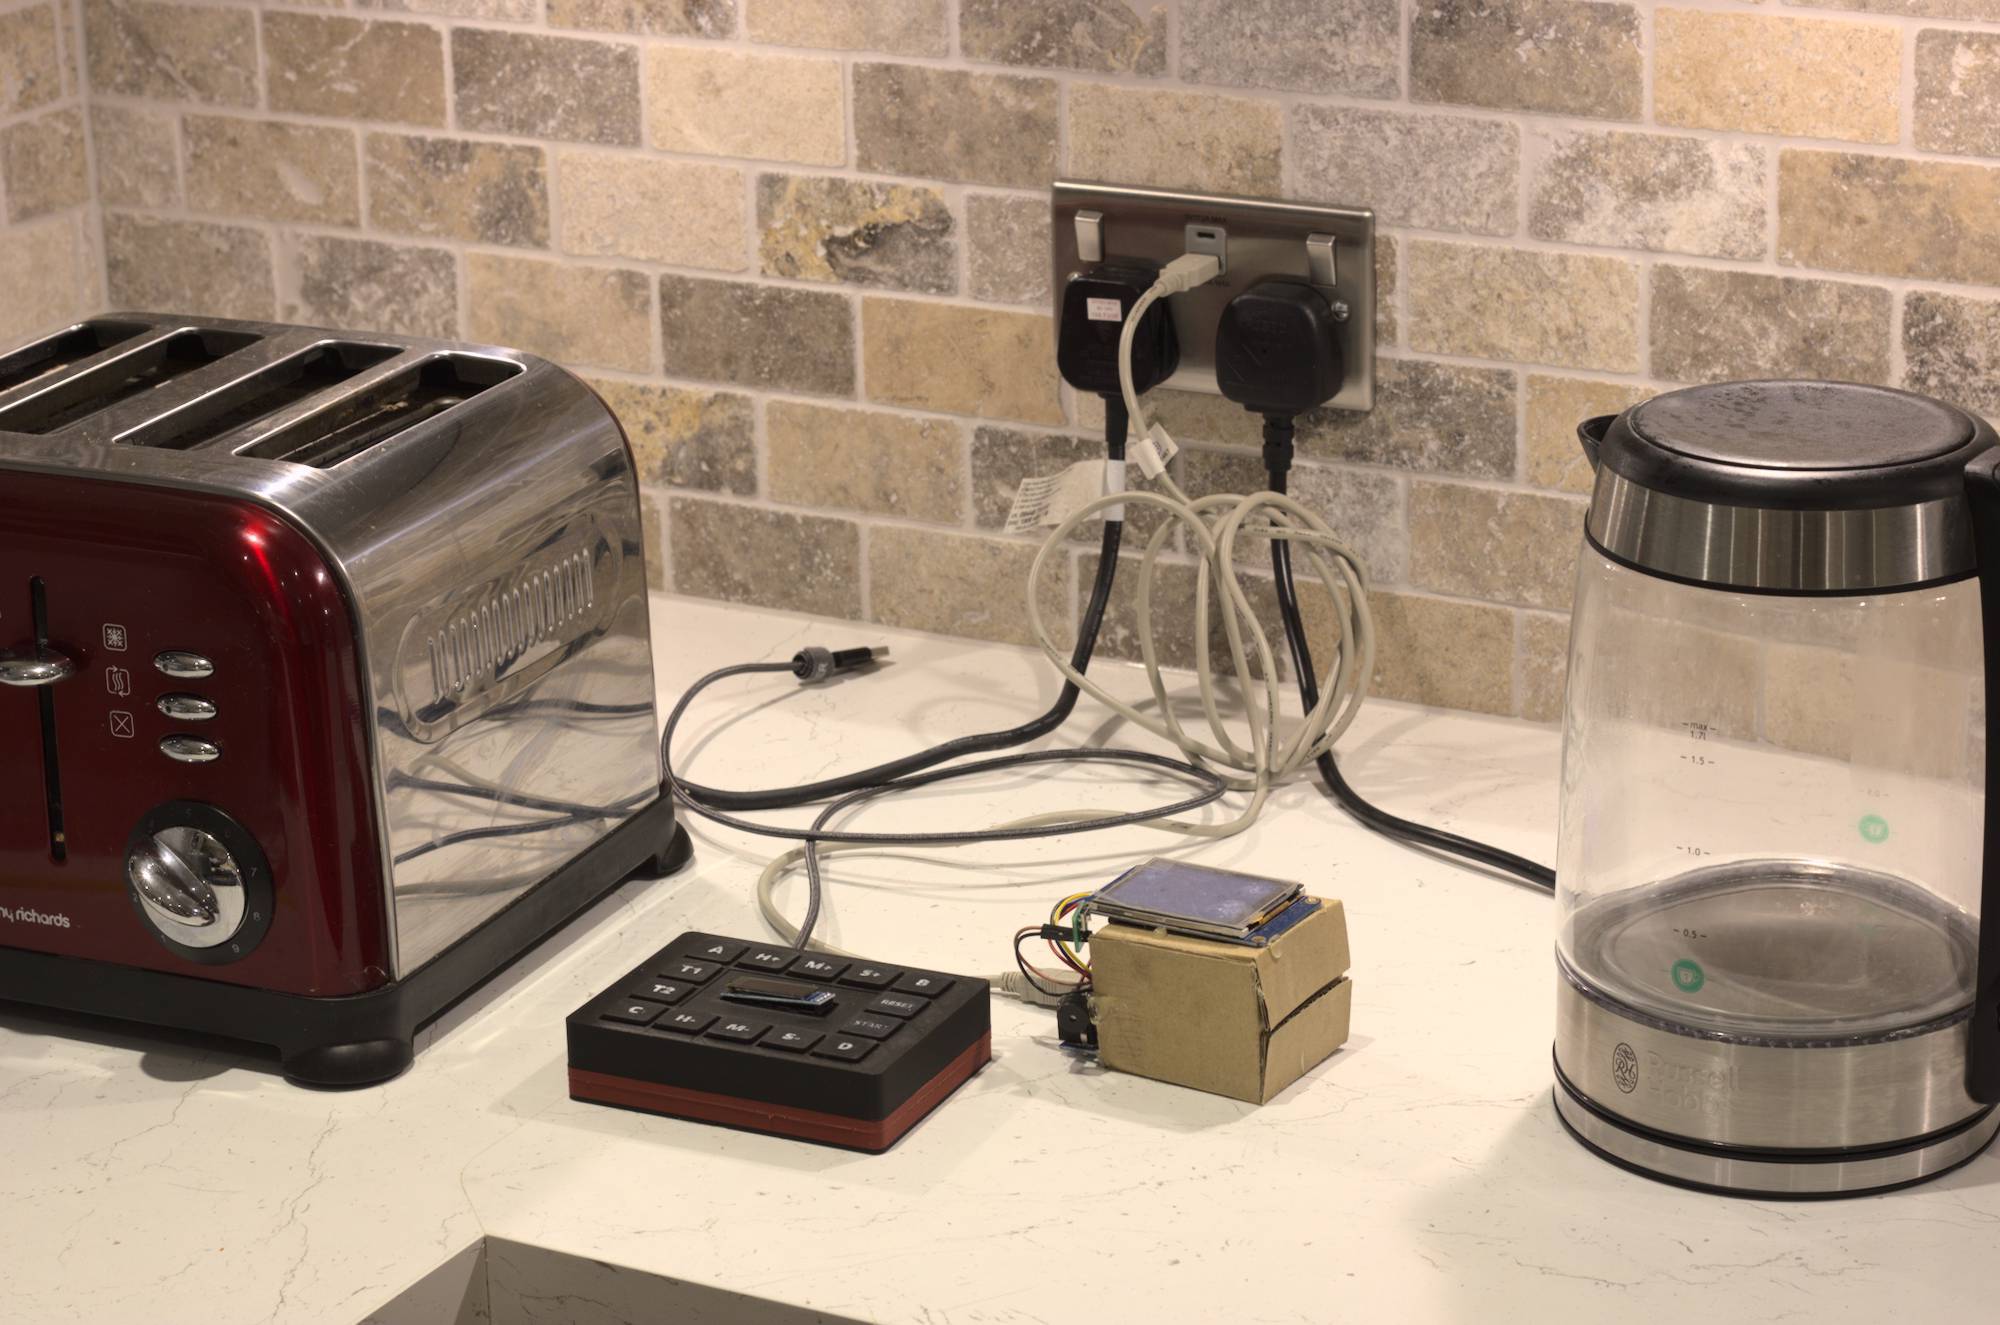
Here's roughly where the timer sits in the kitchen. They're both quite bulky and tied to that USB port.
I’ve been using it for a few months, though, and I’ll keep using it until I make another!